Vacuum Stress in Pets: Calm Training & Safe-Zone Setup
Helping Pets Handle Vacuum Stress: Calm, Training, and Home Setup That Works
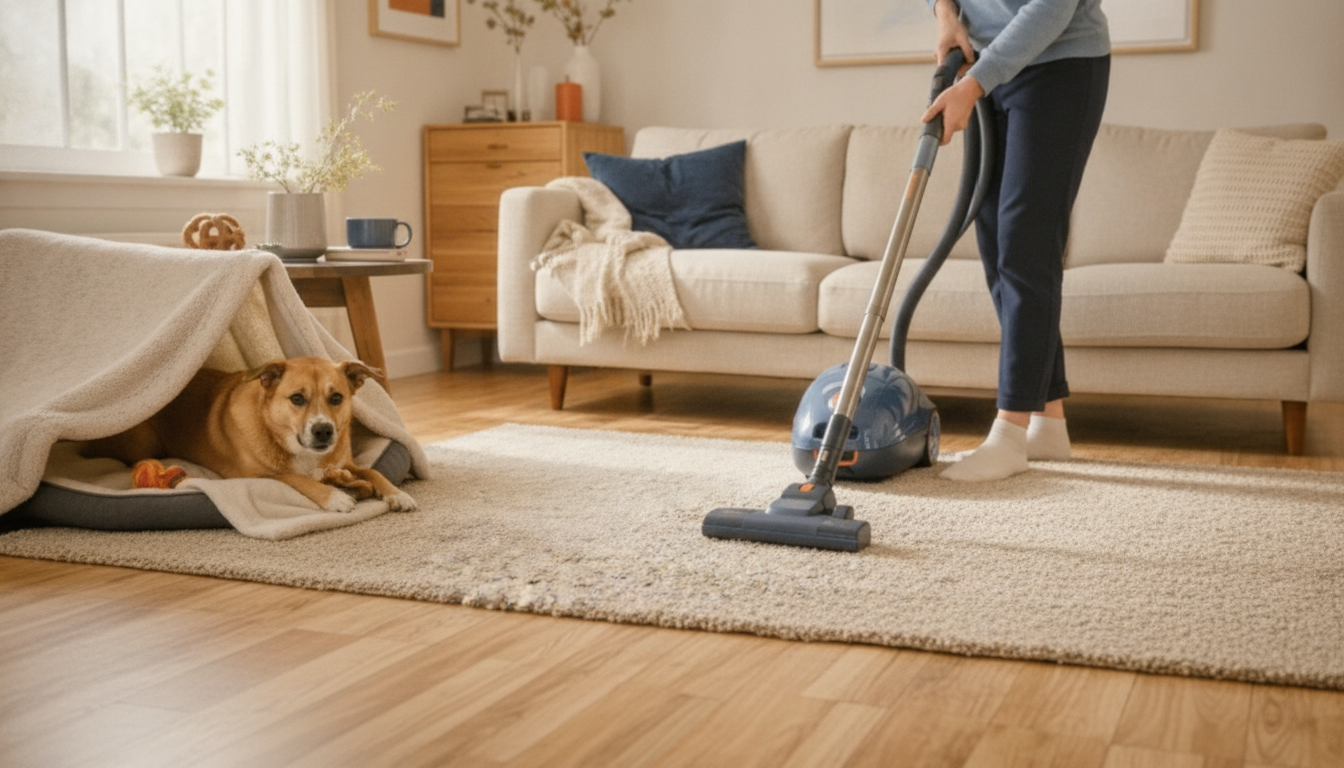
Vacuum noise, sudden movement, and unfamiliar airflow can feel overwhelming to many pets. The goal is to reduce stress while still keeping your home clean—using a mix of smart home setup, gradual training, and supportive routines. The approach below focuses on lowering intensity and building positive associations over time, without forcing contact or “flooding” a pet with loud exposure.
Why vacuums feel threatening to pets
To a dog or cat, a vacuum can look and sound like a fast-moving, unpredictable “thing” that invades personal space. A few common triggers often stack together:
- Sound intensity: Vacuums can contain high-frequency components and abrupt on/off changes that startle sensitive ears.
- Motion pattern: The vacuum approaches directly, pivots quickly, and tracks across the floor like a chasing threat.
- Vibration and floor resonance: Some pets react more to vibration than volume, especially on hardwood or in smaller rooms.
- Scent and airflow: Vacuums stir dust and odors, which can put scent-driven animals on high alert.
- Learned association: One bad moment (slipping, getting bumped, a dropped attachment) can create a lasting negative link.
Spot the difference between fear, anxiety, and over-arousal
Not every reaction means the same thing. Identifying what’s happening helps you choose the safest next step.
- Fear signs: tucked tail, ears pinned back, freezing, hiding, trembling, whale eye, refusal to take treats.
- Anxiety signs: pacing, panting, clinginess, scanning, repeated attempts to escape, upset stomach after the event.
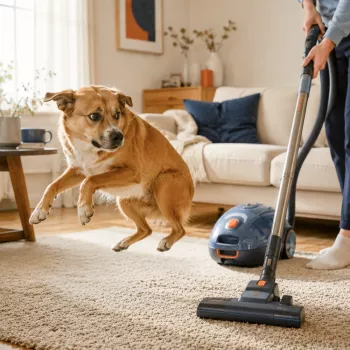
- Over-arousal: barking/lunging, nipping the hose, chasing the vacuum, trouble settling even after it stops.
- Escalation cues: lip licking, yawning, turning head away, sudden shedding, stiff posture—signals to reduce intensity.
- Safety note: Biting can occur when a pet feels trapped; prioritize distance and a clear exit route.
| What you notice | What it often means | What to do right now |
|---|---|---|
| Hiding under furniture, refusing treats | High fear level | Stop vacuuming, increase distance, offer a quiet room and let the pet decompress |
| Barking and charging the vacuum | Over-arousal or defensive behavior | Create a barrier, move vacuum away, redirect to a tossed treat scatter or a chew in another room |
| Panting, pacing, following you room-to-room | Stress and uncertainty | Pause, use a calm voice, guide to a safe zone with bedding and a long-lasting treat |
| Shaking only when vacuum turns on | Noise sensitivity | Lower volume exposure (farther away), add white noise/music, short sessions with rewards |
| Chasing the vacuum cord or biting attachments | Predatory play mixed with stress | Prevent access to cord, provide an alternative toy away from the vacuum, train a “place” cue |
Set up a “safe zone” before training begins
Before you work on any training plan, give your pet a predictable retreat that never includes the vacuum. This one step often lowers stress immediately.
- Pick one room or crate area where the vacuum never enters; consistency builds trust.
- Add comfort cues: familiar bedding, a worn T-shirt, and a covered corner to reduce visual stimulation.
- Use sound buffering: close doors, add a draft stopper, run a fan or calming music to mask sharp sound peaks.
- Provide a food project: a lick mat, stuffed chew, or treat-dispensing toy offered only during vacuum time to build a positive association.
- For multi-pet homes: separate pets to prevent stress contagion (one pet’s panic can trigger others).
A step-by-step desensitization plan (no rushing)
The best results come from short, frequent sessions that stay under your pet’s threshold (your pet can still eat treats and recover quickly). If your pet panics, the step was too big—make it easier.
Step 1: Vacuum visible, turned off
Place the vacuum in view. Reward calm behavior at whatever distance your pet chooses. End the session before tension rises.
Step 2: Tiny movement while off
Nudge the vacuum an inch or two. Treat immediately. If your pet startles, increase distance and make the movement smaller.
Step 3: Add sound at the lowest intensity possible
Turn it on for 1–2 seconds from far away (or in another room). Treat, then turn it off.
Step 4: Increase duration (not volume)
Gradually extend the “on” time while keeping your pet relaxed enough to take treats.
Step 5: Add real vacuuming movements at a distance
Do short passes in a pet-free zone. Alternate movement with calm pauses and rewards.
Step 6: Generalize to new rooms and times
During vacuuming: routines that reduce stress fast
Support tools and when they help
For additional safety guidance around stressed behavior, see the American Veterinary Medical Association (AVMA) dog bite prevention resources. Training fundamentals for fear responses are also covered by the ASPCA guidance on fearful dogs and general body-language references from the RSPCA.
Using a guided plan to stay consistent
Recommended digital guides (available now)
- Helping Pets Handle Vacuum Stress (Digital guide) — a guided plan you can follow session by session to build calmer vacuum routines.
- Study Skills Mastery Guide (Digital guide) — useful if you want a simple checklist-based approach to building consistent household habits and tracking progress day to day.
FAQ
Should a pet be comforted when scared of the vacuum?
Reassurance is fine if it helps your pet feel safer; calm support won’t “reward fear.” Avoid forcing proximity to the vacuum, and focus on distance, predictable routines, and rewarding relaxed behavior.
How long does it take for a pet to get used to vacuum noise?
It varies by temperament and past experiences, but many pets improve over a few weeks with brief, consistent sessions kept under threshold. The timeline is longer if the pet panics or if training jumps ahead too quickly.
What if the pet tries to attack the vacuum?
Increase distance immediately, use barriers (doors/baby gates), and redirect to an alternative activity in a separate space. If lunging or biting escalates, get help from a veterinarian or qualified behavior professional for a safer plan.


Leave a comment